How To Create An Online Course [With Your Signature Program]
Ready to learn how to create an online course with your signature program so that you can scale your coaching business, stop trading your time for money, reach more people, and make money online?!
You've come to the right place!
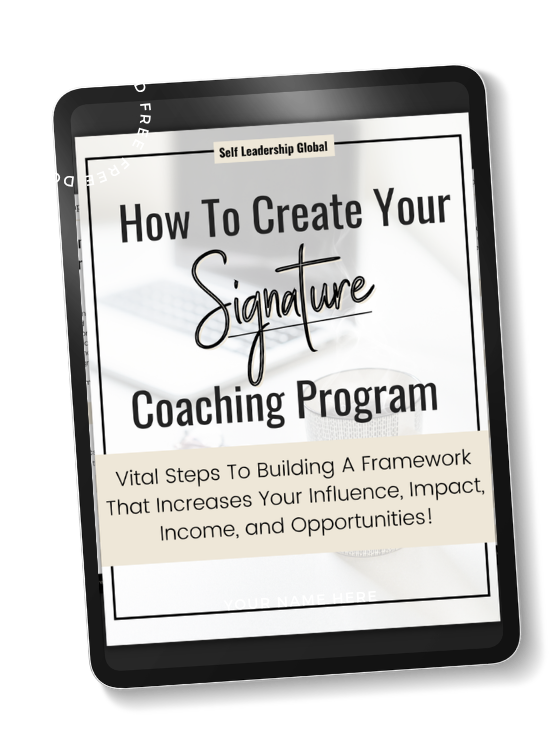
So, you have your signature program and now you’re ready to scale! And if you haven’t completed your signature program yet, click below because that’s step one in creating your online course.
RELATED BLOG: How To Create A Signature Program That Sells
🙈 Maybe you’re getting burnt out on 1:1 clients.
😩 Maybe you have zero time to have a life.
🙋🏻♀️ Maybe you’ve known from the beginning you wanted an online course, but you wanted to test out the flow of the content on clients first.
Any way you look at it, you’re ready to create a business model that makes a difference and makes money WITHOUT you having to physically be there all the damn time.
This is where you package your Signature Program into digital products (like an online course!) so that you can create multiple streams of income.
Remember, your signature program is a step by step process you use to guide your clients & students through the challenge they’re having to the solution you’re providing.
So, if you’re at the point where you’re ready to turn your signature program into an online course, be sure to have these 3 simple steps in place.
From Signature Program To Online Course Step #1: Determine Your Method Of Packaging
First, you’ll choose your method of delivery whether it’s a video course, audio course, written content, or a voiceover with a powerpoint. Let’s go into these in a little bit more detail…
🏆 Video is one of the easiest ways to deliver your course content. Video helps build a connection with whoever is watching and is a heck of a lot quicker than typing it all out.
The benefit of you being on camera is that your audience gets to see you, which helps them get to know the creator behind the course. Don’t underestimate the impact this has on how much your students get out of your course!
Now, if you’re thinking “KellyAnne I don’t have a camera or a professional videographer!” ... no need to worry! I create ALL of my videos, whether it's for Youtube or my online courses with my iphone!
So, if you have a semi up to date smartphone, then you can offer your clients & students quality video in your online course, without needing any flashy expensive cameras.
🏆 The next option is to create screen recording videos with voiceover, which is exactly what it sounds like - a recording of your computer screen with you talking in the background.
In this kind of video, you can either record a slide presentation which can be made in:
- Google Presentation
- PowerPoint
- Keynote
- Or my personal favorite Canva!
Canva is my fave because it allows you to personalize your powerpoint to your brand and create that WOW factor.
You can also screen record tutorial-style videos that show your students how to do something as you are doing it on your computer. These are typically a crowd favorite because people don’t want to just learn how to do something… most people want to SEE it!
If you do plan to deliver your online course content with screen recorded videos, there are a few tools to help you create a seamless process.
To create the screen recorded videos, you can use something simple and free like:
- QuickTime (for Mac users)
- Icecream (for Windows users)
- Screenflow
- Camtasia
🏆 Then we move on to Audio Courses. The benefit to creating audio course content is that your students can take it “on the go” with them and listen anywhere - like a podcast or music.
It’s also super easy to create whether you use garage band (if you’re a mac user), quicktime player, or even voice notes on your phone.
This type of course is perfect for folks who don’t need visuals to drive the point home.
🏆 Then, the simplest of all is Text content! You basically just write your content and drop it into your course platform, no extra tools or skills required. This can be in the form of an ebook, or designed pdf’s.
🏆 Speaking of PDF’s… most high quality online courses have PDF’s/downloadable content attached. PDF content is great for giving your student a handy reference they can look at anytime, or for creating worksheets for students to fill out.
A few tips to help make your visual course content better are:
- First, don’t make a giant wall of copy that’s hard to digest. Make it easy and enjoyable to consume the content. You can create a visual hierarchy of your content by utilizing icons, graphics, or different sizes, colors, and spacing around an element.
- Align your text on some sort of grid.
- Less is more. Don’t try to cram too much content on a single page.
From Signature Program To Online Course Step #2: Get The Right Equipment & Tools To Package
If your online course will include videos with you on camera you’ll need these pieces of equipment to up your production game.
- First is a Tripod: There are many different tripod designs specifically designed for phones. You can find tripod attachments that will allow for your already existing tripod to house your phone, and even mini tripods that will hold your phone wrapped around any solid object. Using a tripod creates stability for your phone and most importantly improves the quality of your video.
- Second is Lighting: Most of us take lighting in videos for granted, but good lighting goes a long way! You can use the power of a ring light or purchase LED lights and softboxes.
- Third is a Microphone: Your audio needs to be clear and crisp so that your students can hear and understand you. If your audio is fuzzy, too quiet, or has too much background noise, it distracts from your content and can even make it impossible for students to follow along. An external mic is the best way to improve audio quality, and a great one can be found without splurging too much. The one I use is only $20 bucks!
- Fourth is Editing Software: In case you did want to edit these videos, here are a few powerful software tools that are common industry standards: Adobe Premiere, Final Cut Pro, Camtasia, Screenflow, and iMovie. If you are using a phone you can also browse through your app store’s top rated video editor apps.
- Fifth is a simple design tool. Now, If you want to create beautiful, on brand slides for your videos use Canva. This tool gives you endless templates to use (that will make your designs look pro), as well as free stock images. Canva offers a Free, Pro, and Enterprise plan to fit your needs and budget! So, If you haven’t tried it, now is your chance!
Also, if you plan to add Written Content to your course you’ll want to use Tools like
- Etsy & Pinterest to research examples
- Canva to design it
- PDFescape to make your documents fillable
... or if this all sounds overwhelming, you can find a freelance designer on Upwork to help.
Regardless, be sure to have an outline of your written content and action steps for your students ready to go first.
From Signature Program To Online Course Step #3: Online Course Platform
Your content is ready and now you need to house it somewhere!
Personally, I use Kajabi. I love how Kajabi allows me to beautifully package all of the support materials included in my online courses.

Everything from:
- Video, audios and module descriptions
- To implementation support (ie. templates, checklists, scripts, and workbooks)
- As well as resources (ie. book lists, recorded seminars, and monthly masterclasses)
Not all platforms host videos, audios and other materials. So, this would be an additional cost (and headache because you’d have to integrate everything).
If you want to learn more about Kajabi go ahead and click below to see the backend of my business!
RELATED BLOG: Kajabi Review: Why It's The #1 Online Course Platform
Now, Something you’re going to want to focus on when creating your online course is simplicity.
During the content creation phase of your online course, you’re going to:
- script out your modules
- develop implementation materials
- build out bonuses
- create your content using your method for delivery
This is the fun part! This is where you develop modules and build out each of your concepts and topics into a workshop like format.
Each module will typically include:
- A video, audio, or piece of written content (whichever you choose to package your online course content)
- A Module Description.
- Downloadable content such as implementation guides or workbooks. These help your students implement what they learn in your content, and is especially helpful to your visual learners!
Examples of effective downloadable content include:
- Checklists
- Worksheets
- Tool/Product Recommendations
- “How to” Guides
- Flowcharts
- Templates
- Scripts
Just remember, the simpler and clearer you are with your information, the faster your students will take action and experience success.
Ultimately, you want your online course to be a simple, yet detailed step by step that gently guides your students to an end result. If it’s too detailed it could create confusion, so the simpler the better.
PRO TIP 👇🏽👇🏽
Now, I wanted to share one last pro tip here… because so often I see coaches not understanding how each of their products, programs and services automatically flows to the next purchase.
A pro tip when turning your signature program into an online course is to use automations. For example, when a client clicks on your last video, you can automatically have them subscribe to another email list that sells a next step to the course they were just participating in!
So, this means that when launching your online course and other products and programs it’s important to determine the “next step” in your sales funnel.
For example, if your students bought your $37 tiny offer, that may lead to a more expansive online course for $297 (which is a mid tier price point) and then you may want to offer support at the next high tiered level (which may be a group coaching program, a VIP Day, or one on one coaching).
Okay, so now you know the 3 steps to turn your signature program into an online course, I wanted to share a resource I created called Online Course Simplified. This is going to walk you through not only mapping out and building the curriculum for your Online Course from scratch, but also the process you need to SELL it ...whether that’s by having an evergreen course, or open/close cart dates, or even selling it as part of a group coaching program!

So, go ahead and click the picture above to learn more about that now.
Lastly, if this video was just what you needed in your coaching business, please let me know by sharing this blog with your coach friends.
Until next time, Coach… keep building your empire!
xo KellyAnne
PIN FOR LATER